Tuesday, November 29, 2022

error: package javax.xml.bind does not exist

Try these fixes if you run into issues with javax.xml.bind, which was deprecated and later removed from Java.

----------------------------------------------------------------------

Solution 1 => Switch to Java 8

Please install the latest JDK 8 from oracle for your OS - https://www.oracle.com/java/technologies/javase/javase-jdk8-downloads.html. If you have the latest Java (version 11/14) installed, you need to also install JDK 8 and use it to run the java code.

Switch to JDK 8 on Linux / macOS:

- Check current java version % java --version, if it is JDK 11/14 then install JDK 8

- Check all JDK versions installed % /usr/libexec/java_home -V

- Edit bash profile % nano ~/.bash_profile

export JAVA_HOME_8=$(/usr/libexec/java_home -v1.8)

export JAVA_HOME_11=$(/usr/libexec/java_home -v11)

export JAVA_HOME_14=$(/usr/libexec/java_home -v14)

Sunday, November 27, 2022

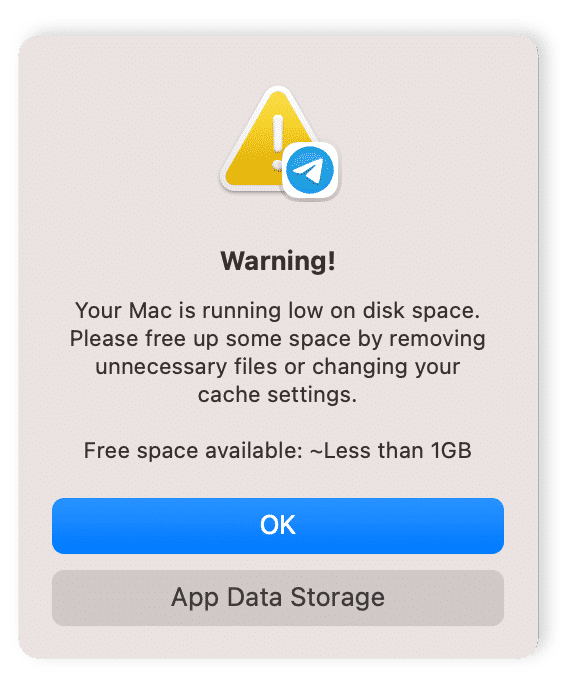
[Fix] Free up disk space in macOS


This hack worked for me when I was running low on disk space on my MacBook Pro, stopping me from upgrading to the latest version of Xcode and macOS. Run these quick and easy commands from the macOS terminal to clean system data over 100 GB.
  • rm -rf Library/Logs
  • rm -rf Library/Caches
  • rm -rf System/Library/Caches
  • rm -rf ~/Library/Logs
  • rm -rf ~/Library/Caches

List Supported CPU Instructions Set [Solved]

You may find these terminal commands useful if you are looking for ways to list all supported instructions set by the CPU on a macOS machine. For instance, you can check for Intel® Streaming SIMD Extensions 4 (Intel® SSE4) or Intel® Software Guard Extensions (Intel® SGX) features for your device.

% sysctl -n "machdep.cpu.brand_string"

Intel(R) Core(TM) i5-8279U CPU @ 2.40GHz


% sysctl -a | grep machdep.cpu.features

machdep.cpu.features: FPU VME DE PSE TSC MSR PAE MCE CX8 APIC SEP MTRR PGE MCA CMOV PAT PSE36 CLFSH DS ACPI MMX FXSR SSE SSE2 SS HTT TM PBE SSE3 PCLMULQDQ DTES64 MON DSCPL VMX EST TM2 SSSE3 FMA CX16 TPR PDCM SSE4.1 SSE4.2 x2APIC MOVBE POPCNT AES PCID XSAVE OSXSAVE SEGLIM64 TSCTMR AVX1.0 RDRAND F16C


% sysctl -a | grep machdep.cpu.leaf7_features


machdep.cpu.leaf7_features: RDWRFSGS TSC_THREAD_OFFSET SGX BMI1 AVX2 SMEP BMI2 ERMS INVPCID FPU_CSDS MPX RDSEED ADX SMAP CLFSOPT IPT MDCLEAR TSXFA IBRS STIBP L1DF ACAPMSR SSBD


% sysctl -a | grep AVX2


machdep.cpu.leaf7_features: RDWRFSGS TSC_THREAD_OFFSET SGX BMI1 AVX2 SMEP BMI2 ERMS INVPCID FPU_CSDS MPX RDSEED ADX SMAP CLFSOPT IPT MDCLEAR TSXFA IBRS STIBP L1DF ACAPMSR SSBD


Delete files from Git repo and history


Follow these steps to delete single or multiple files from your Git repository and prune it from history. You should also add the file(s) to .gitignore (Step 5) to avoid committing the same files to your repo again in the future.
  1. git clone <repo-path>
  2. git rm file1 file2
  3. git filter-repo --force --invert-paths --path file1
  4. git filter-repo --force --invert-paths --path file2
  5. nano .gitignore 
  6. git add .
  7. git commit -m "deleted file1 file2"
  8. git remote add origin <repo-path>
  9. git remote -v
  10. git push origin --force --all
  11. git push origin --force --tags

[How To] Install HElib on macOS


HElib is an open-source (Apache License v2.0) software library that implements homomorphic encryption (HE). Currently, available schemes are the implementations of the Brakerski-Gentry-Vaikuntanathan (BGV) scheme and the Approximate Number scheme of Cheon-Kim-Kim-Song (CKKS), along with many optimizations to make homomorphic evaluation runs faster, focusing mostly on effective use of the Smart-Vercauteren ciphertext packing techniques and the Gentry-Halevi-Smart optimizations. To install HElib on macOS, follow these steps:

Cloning into 'HElib'...

remote: Enumerating objects: 14133, done.

remote: Counting objects: 100% (292/292), done.

remote: Compressing objects: 100% (211/211), done.

remote: Total 14133 (delta 127), reused 172 (delta 54), pack-reused 13841

Receiving objects: 100% (14133/14133), 13.04 MiB | 5.81 MiB/s, done.

Resolving deltas: 100% (10853/10853), done.

  • cd HElib/

  • mkdir build

  • cd build 

  • cmake -DPACKAGE_BUILD=ON -DENABLE_TEST=ON ..

-- The C compiler identification is AppleClang 14.0.0.14000029

-- The CXX compiler identification is AppleClang 14.0.0.14000029

-- Detecting C compiler ABI info

-- Detecting C compiler ABI info - done

-- Check for working C compiler: /Library/Developer/CommandLineTools/usr/bin/cc - skipped

-- Detecting C compile features

-- Detecting C compile features - done

-- Detecting CXX compiler ABI info

-- Detecting CXX compiler ABI info - done

-- Check for working CXX compiler: /Library/Developer/CommandLineTools/usr/bin/c++ - skipped

-- Detecting CXX compile features

-- Detecting CXX compile features - done

-- Performing Test CMAKE_HAVE_LIBC_PTHREAD

-- Performing Test CMAKE_HAVE_LIBC_PTHREAD - Success

-- Found Threads: TRUE  

CMake Warning at CMakeLists.txt:264 (message):

  CAUTION: Package build should not be installed globally as it will

  potentially override dependencies.


Thursday, November 24, 2022

[How To] Run Jupyter Lab from a Remote server

Step 1: Launch Jupyter Lab from the Remote server with the command

$ jupyter-lab --no-browser --ip="0.0.0.0"

[I 2022-11-24 15:03:36.648 ServerApp] jupyterlab | extension was successfully linked.
[I 2022-11-24 15:03:36.711 ServerApp] nbclassic | extension was successfully linked.
[I 2022-11-24 15:03:37.783 ServerApp] notebook_shim | extension was successfully linked.
[I 2022-11-24 15:03:37.910 ServerApp] notebook_shim | extension was successfully loaded.
[I 2022-11-24 15:03:37.917 LabApp] JupyterLab extension loaded from /home/pi/.local/lib/python3.9/site-packages/jupyterlab
[I 2022-11-24 15:03:37.917 LabApp] JupyterLab application directory is /home/pi/.local/share/jupyter/lab
[I 2022-11-24 15:03:37.941 ServerApp] jupyterlab | extension was successfully loaded.
[I 2022-11-24 15:03:37.963 ServerApp] nbclassic | extension was successfully loaded.
[I 2022-11-24 15:03:37.965 ServerApp] Serving notebooks from local directory: /home/pi/Documents


Step 2: Open a browser window from your local machine and type Remote server's IP and Port


Step 3: Enter the session token


Step 4: You are connected!!

[How To] Install SEAL Python on a Raspberry Pi


Follow this tutorial to install Microsoft SEAL 4.X for Python on a Raspberry Pi 3 device. You can follow the same commands to install it on any other Linux machine. I have copied the output for each command for your reference.

$ uname -a
Linux raspberrypi 5.15.76-v7+ #1597 SMP Fri Nov 4 12:13:17 GMT 2022 armv7l GNU/Linux

$ sudo apt update -y && sudo apt upgrade -y && sudo apt autoremove
Reading package lists... Done
Building dependency tree... Done
Reading state information... Done
0 upgraded, 0 newly installed, 0 to remove and 0 not upgraded.

$ sudo apt-get install git build-essential cmake python3 python3-dev python3-pip
Reading package lists... Done
Building dependency tree... Done
Reading state information... Done
build-essential is already the newest version (12.9).
git is already the newest version (1:2.30.2-1).
python3 is already the newest version (3.9.2-3).
python3-dev is already the newest version (3.9.2-3).
python3-dev set to manually installed.
cmake is already the newest version (3.18.4-2+rpt1+rpi1+deb11u1).
python3-pip is already the newest version (20.3.4-4+rpt1+deb11u1).
0 upgraded, 0 newly installed, 0 to remove and 0 not upgraded.

Cloning into 'SEAL-Python'...
remote: Enumerating objects: 1623, done.
remote: Counting objects: 100% (247/247), done.
remote: Compressing objects: 100% (82/82), done.
remote: Total 1623 (delta 174), reused 188 (delta 161), pack-reused 1376
Receiving objects: 100% (1623/1623), 8.68 MiB | 7.14 MiB/s, done.
Resolving deltas: 100% (880/880), done.

$ cd SEAL-Python